Seven Days, One Pair: A Salon-Grade Suede Boot Revival for the Party Calendar
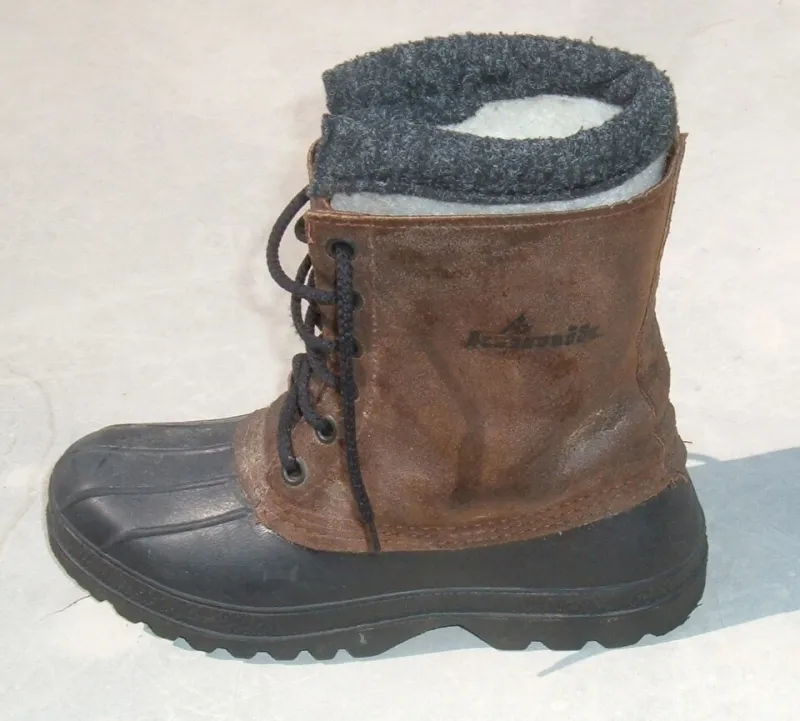
Photo: ArnoldReinhold, CC BY-SA 3.0, via Wikimedia Commons
By the first week of November, the British pavement has already made its point. Grit gathers at the heel, salt blooms in the seams and the nap of a favourite suede boot begins to look flattened and uncertain. The festive calendar, meanwhile, is filling with drinks receptions, dinners and long-awaited reunions. The temptation is either to panic or to abandon the boots until spring. Neither is necessary.
At Suede Salon, we prefer a measured approach: seven days of small, deliberate actions that return structure, softness and colour without aggressive products. The plan below is designed for real UK weather and real city life. It asks for perhaps fifteen minutes a day, and it works best when begun before the party season is in full swing.
Day One: Assess and Brush Dry
Begin indoors, in good light, with the boots completely dry. A horsehair brush is the only essential tool. Work in one direction, following the natural nap rather than scrubbing against it. This first pass lifts surface dust and grit that would otherwise become embedded during cleaning.
Use this day to assess rather than treat. Note salt tidemarks around the sole, dark spots on the toe, scuffs at the heel and any areas where the colour has faded. Check the sole and heel for wear, and look inside for a compressed insole. A notebook or a photograph on a phone is useful; it prevents over-treatment later.
Day Two: Lift the Surface Grime
A suede eraser or crepe brush addresses the dry, superficial marks that accumulate on any boot worn in a city. Use short, gentle strokes and brush away the residue as you go. Do not wet the suede at this stage. The aim is to remove what sits on the surface, not to push it deeper.
If the nap looks polished or shiny in places, a light brushing with a brass brush — used with a very light hand — can revive it. Pause frequently and check the result. Suede responds to patience far better than to pressure.
Day Three: Address Salt and Water Marks
Salt is the defining hazard of the British winter. It draws moisture, stiffens the nap and leaves pale rings that can harden if ignored. Mix a small amount of mild vinegar with water, dampen a clean cloth and dab — never soak — the affected area. Blot immediately with a dry towel and allow the boot to dry naturally, away from radiators and direct heat.
Water marks are treated similarly, though often with plain water alone. The principle is to soften the mineral deposit and lift it evenly. Work in small sections and allow each to dry before assessing. If the mark remains after two attempts, stop and seek professional advice; repeated wetting can spread the stain.
Day Four: Spot-Treat Stubborn Stains
For oily marks, cornflour or fuller's earth left overnight can draw out residue without solvents. Brush away in the morning and assess. For scuffs that will not lift, a specialist suede cleaner applied sparingly to a cloth is preferable to saturating the boot. Test any product on a hidden area first.
This is also the day to decide what should not be handled at home. Deep stains, dyed finishes and vintage suede deserve a salon assessment. Reassurance lies in knowing the limits of a domestic kit as much as in using it well.
Day Five: Restore Softness and Colour
A suede conditioner, applied in thin layers, returns suppleness to areas that have dried through repeated exposure to wet weather. Colour renovators can revive faded black, chocolate or taupe, but they should be built up gradually. Brush between layers and allow each to settle.
Pay attention to the flex points across the toe and instep, where suede dries and creases first. Do not over-apply. The goal is a soft, even finish, not a coated surface.
Day Six: Waterproof and Protect
Waterproofing is the step that makes the difference in a British November. Choose a reputable suede protector, apply in a ventilated room and mist evenly from a sensible distance. Two light coats, with drying time between them, are better than one heavy application. Never spray wet suede.
Allow the boots to dry fully before wearing. This protective layer will not make suede impervious to a downpour, but it will buy time against drizzle, slush and the incidental puddle.
Day Seven: Finish and Future-Proof
Stuff the boots lightly with acid-free paper to hold their shape, brush the nap into place and fit fresh insoles if needed. Check the heel tips and sole edges; a small repair now prevents a larger one in January. Store the boots with breathing space, away from direct sunlight and radiators.
The final salon touch is often the most reassuring: a professional clean and refinish if the pair has seen several winters. It is not an admission of failure but a sensible interval service, much like a tailored coat being pressed at the end of a season.
By day seven, the boots should look cared for rather than merely cleaned. The deeper benefit is the habit: a weekly brush, a monthly protector top-up and prompt attention to salt. Small actions, repeated, will carry a good pair of suede boots through the party season and well beyond.